Manage your Chase POS℠ App catalog
Get details on how to add and edit the items you sell in your Chase POS App.
Catalog support topics
Get answers to the questions most frequently asked by business owners like you.
Creating your catalog
The catalog is a feature that allows merchants to create and manage the set of items they sell to their customers. At checkout, the merchant can then see these items and add them to a customer’s order.
To manage your catalog:
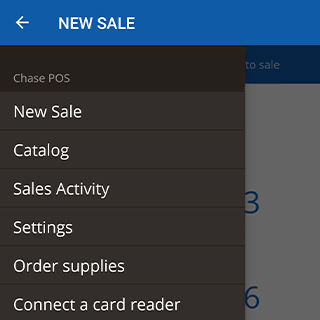
- Choose the Main menu
- Choose Catalog from the navigation menu
Choose Add item

Complete the item details on the Add item form
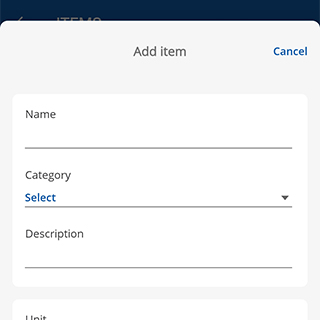
Name: Add the name of item (product or service) available to be sold.
- Each item name will appear on the customer’s receipt.
Category: Organize created items within the catalog.
- Only the categories a user creates will show during checkout.
Description: Create a description for the item being added.
- The description is only visible to a user’s employees and doesn’t appear on the customer’s receipt.
Unit: Choose the unit of measurements upon which the item will be priced.
- As an item is being created, it'll automatically default to a "per each" unit.
- The user can change the default unit from the dropdown of previously created units.
SKU: Enter the Stock Keeping Unit value for the item.
- Users can enter their own SKU.
- If a SKU isn't entered, one will be populated automatically when the item is saved.
- The user can change the SKU, by navigating back to the created item and choose the field to enter a different SKU.
UPC: The Universal Product Code, is a code printed on a manufacturer’s packaging to aid in identifying the item.
- Users can enter this optionally.
Tax Exempt: Toggle this indicator on/off if the item is exempt from sales tax.
To create a new unit, navigate to the catalog menu from the Main menu in the Chase POS keypad and choose Add/edit units.
- Users can add/edit units from several options by weight, volume, time, length, and area measurement.
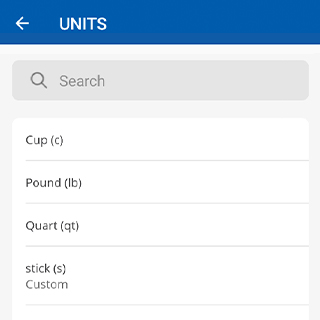
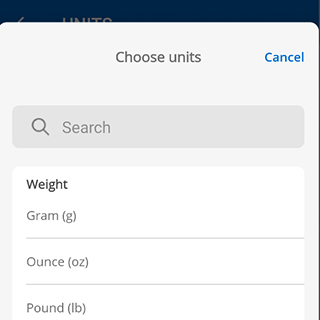
From there, users will need to choose the unit they wish to create and then Choose units.
- A custom unit can be created by choosing Create custom unit and following the prompts.
- The user can choose Add/edit categories to begin.
- Search for any categories already created or choose Create category.
- Choose Title to display keyboard, then enter a name for the category in the field.
- Choose one, multiple, or all items to assign to the category.
- Once the category is built, choose Save.
- With the new category visible, the user can add more categories by choosing Create category and repeating steps 3-5.
Yes, there are several time-based units available such as hour, minute, day, week, and month. Once the unit is enabled, you can build your catalog item.
Not at this time. We'll be adding new features like this in the near future.
Users can add discounts to the total basket in terms of percentage and dollar off reductions, item level discounts aren't currently supported.
The SKU allows the catalog item to be uniquely identified at the merchant. You can define this or allow the system to provide one.
Inventory management
Inventory management helps users manage the inventory of the items they sell to their customers.
Users can do either from Chase POS or from www.chase.com/business.
Users can set up inventory when creating or editing an item in their catalog.
- In Chase POS App, select the Catalog menu item to begin.
Step 1
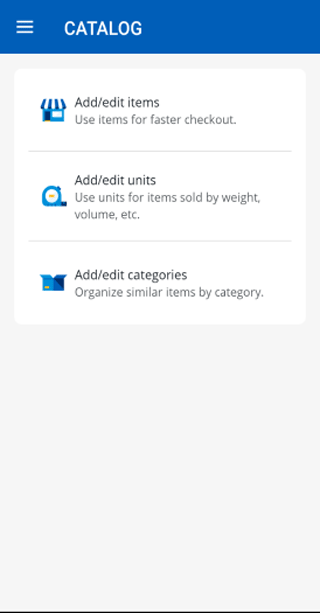
Tap Add/edit items.
Step 2
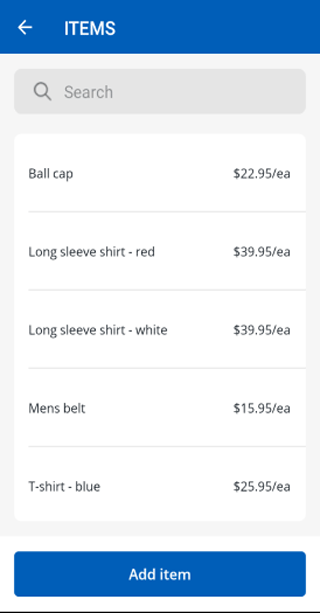
Tap the Add item button to create a new item and complete the fields on the Add item page, or select an existing item from the Items list.
Step 3
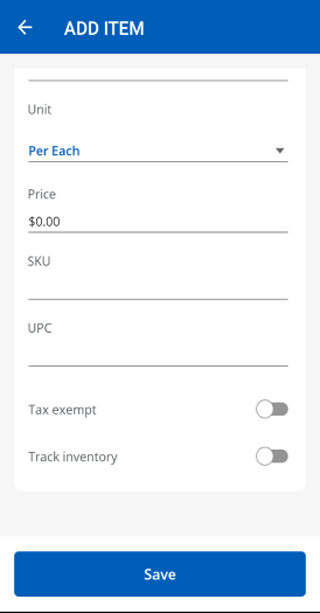
Switch on the Track inventory toggle. The Manage Inventory page will display.
Step 4
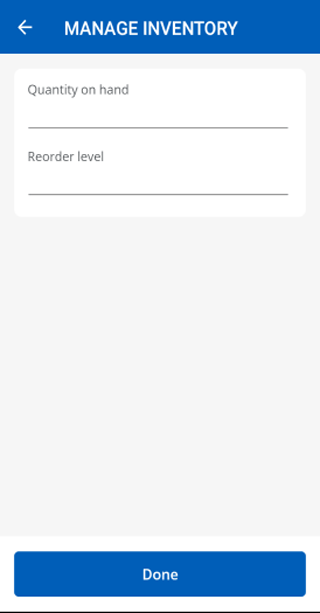
Fill in the Quantity on hand and Reorder level fields (both are required to turn on inventory tracking), then tap the Done button.
Step 5
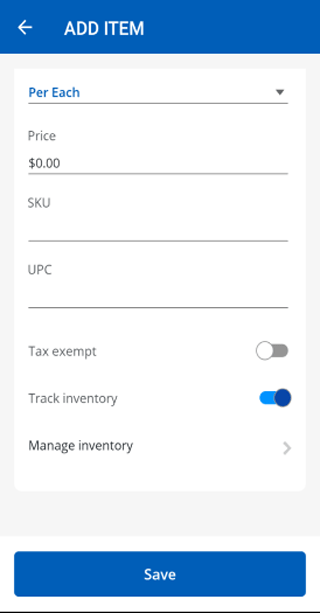
Tap the Save button.
Once an item's inventory is set up, users can return to the item to manage its inventory:
- In the Chase POS App, select the Catalog menu item to begin.
- Tap Add/edit items.
- Tap the item and scroll down to Manage Inventory.
- Select a Reason for adjustment and enter a number for the Quantity adjustment. You can also change the item's Reorder level.
- When finished, tap the Done button, and then tap the Save button.
Users can access the Inventory report and the Quantity History report only from www.chase.com/business.
Log in to www.chase.com/business.
- From the Catalog page, tap the Inventory report link to begin.
- From the Catalog page, select the action menu and then View quantity history from the list.